Versus Remap Windows Guide: Tune Sticks, Triggers & Gyro
Tune Versus Remap on Windows: pick virtual Xbox or DS4 output, set stick deadzone and curve, fix trigger thresholds, enable Sony gyro to a virtual stick, then verify in Input test.
Direct answer: In Versus Remap on Windows, pick the virtual output your game expects under Settings → Virtual output, then open Dashboard → Tune for analog feel. For sticks, start with deadzone, then adjust sensitivity or the response curve — one change at a time, then test. For triggers, set separate deadzone and full-press thresholds and keep the full-press value above the deadzone. On supported Sony controllers, gyro can drive the left or right virtual stick after you set activation and sensitivity, then Save & apply and check Input test. Remap does not invent aim-bot numbers here — you tune what reaches the virtual pad.
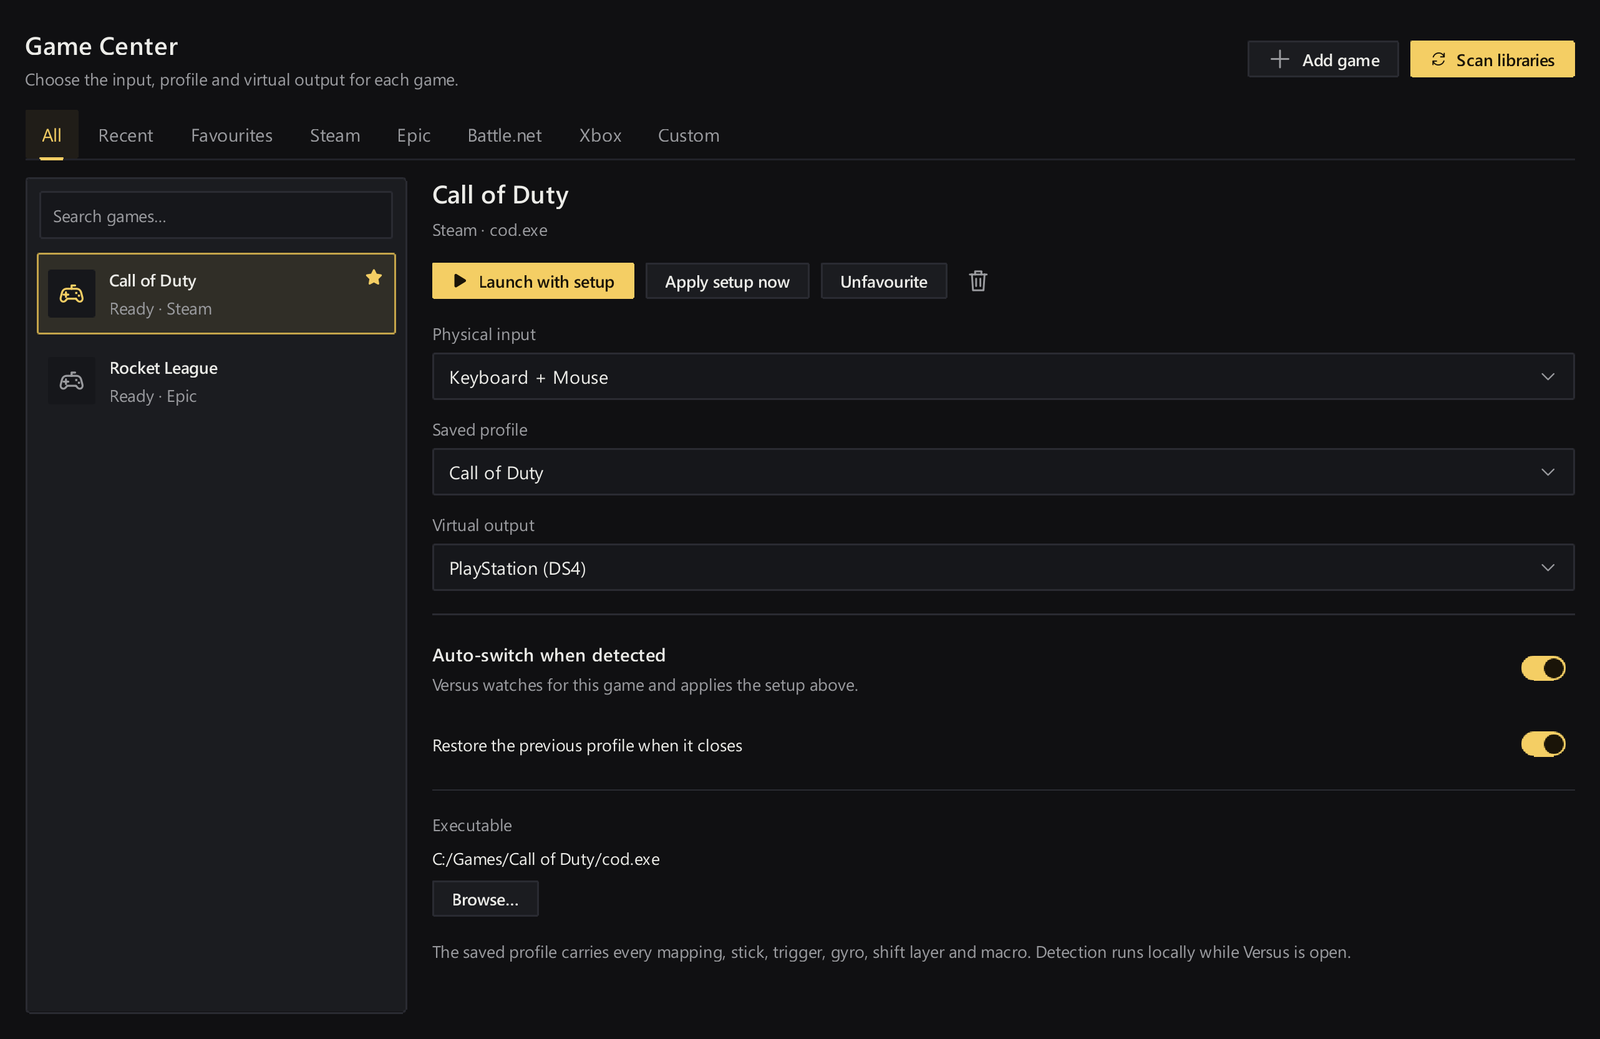
This guide is the Remap analog / output lane. It is not the day-one apply / slot / shift walkthrough, not macros, not Game Center autodetect, and not the stream overlay path.
What Tune is for
Button remaps change which virtual control a press sends. Dashboard → Tune changes how analog sticks and triggers behave after that mapping, and how gyro motion (when available) feeds a virtual stick.
Remap’s product page calls this out plainly: sticks and triggers get zones and curves so aim and fire feel right. Docs keep sticks and triggers as analog controls you tune under Dashboard → Tune, separate from Alternate layers and Macros.
Prerequisites: a pad, an output, a slot you can apply
You need Remap on Windows with a DualSense or Xbox pad over USB (current Remap support), a profile, and a virtual output your title expects. Keyboard and mouse can be physical sources into a virtual pad; this build does not provide virtual keyboard or mouse output.
Open Settings → Virtual output and choose what the game should see:
- PlayStation 4 — DS4 output.
- Xbox 360 — XInput output.
- Generic pad — currently shares the DS4-compatible output path; it does not create a separate generic virtual device.
Output is independent of the physical controller in your hands. A DualSense can still feed Xbox 360 output when that is what the title wants.
Then choose a profile, pick a quick slot, and Save & apply. Saving alone is not enough — applied confirmation is what puts the mapping live. If you have never applied a slot, finish the USB pad, apply a slot, add one shift layer path first, then come back here.
Worth knowing for this build: Xbox rumble forwarding and Bluetooth rumble are unsupported. Choosing an output type does not mean vibration feedback will work on your pad. Xbox Elite back paddles and Switch Pro virtual output are also out of scope here.
Stick feel: deadzone first, then the curve
- Open Dashboard → Tune.
- Select the stick you care about (left for movement, right for look — whatever your profile uses).
- Start with deadzone. Raise it only enough to stop idle micro-movement from reaching the game. Higher deadzone also reduces response near the center, so do not jump straight to a large value.
- Next, adjust sensitivity or the response curve. Change one setting at a time.
- Use inversion only when you deliberately want that axis reversed.
- Save & apply, then test before touching another knob.
Idle drift and soft aim near center fight each other if you crank deadzone without testing. Remap’s own guidance is change one setting, then check the result.
Trigger thresholds: keep a usable range
Trigger tuning has two separate values:
- Deadzone — how far you press before the virtual trigger starts rising.
- Full-press threshold — where Remap treats the pull as fully pressed.
Keep the full-press threshold above the deadzone so the trigger still has a usable travel range between “off” and “full.” If full-press sits at or below deadzone, you shrink or erase that range.
Tune one trigger, apply, and pull it in Input test → Virtual before mirroring the other side.
Gyro on supported Sony controllers
Gyro uses motion readings from supported Sony controllers and can drive the left or right virtual stick.
- In Dashboard → Tune, open the gyro controls.
- Choose which virtual stick it should drive.
- Set activation and sensitivity.
- Save & apply.
- Use Input test to compare physical motion with the virtual result.
A controller without motion sensors cannot supply gyro input. If your pad has no motion path into Remap, skip this section — button and stick maps still work.
Prove it in Input test
- Open Input test → Physical and confirm the pad (and gyro, if you use it) reaches Remap.
- Switch to Virtual and confirm the tuned sticks, triggers, and any gyro-driven stick move the way you expect.
- If Physical looks fine but Virtual does not, re-check output type, applied slot, and the Tune values you just saved — not Windows drivers first.
- Only then jump into a private lobby or menu and feel the aim under game camera settings.
If inputs appear twice, check whether another controller-mapping app is also running before you rewrite deadzones again.
FAQ
Do I tune sticks before or after I remap buttons?
Either order works, but apply the profile after Tune edits. Button maps decide which virtual control fires; Tune shapes the analog signal on sticks and triggers. Docs point analog work to Dashboard → Tune.
Which virtual output should I pick?
Pick what the game expects to see. Xbox 360 for XInput titles, PlayStation 4 for DS4 output, Generic pad when you need that DS4-compatible path (it does not spin up a separate generic virtual device). Output is independent of whether your hands hold DualSense or Xbox.
Will Remap forward DualSense or Xbox rumble?
Not in this build for Xbox rumble forwarding or Bluetooth rumble. Choosing an output does not establish that feedback works on your controller.
Can gyro work on an Xbox pad?
Gyro needs motion readings from supported Sony controllers. A pad without those sensors cannot supply gyro input. Stick and trigger Tune still apply.
Is this the same as Remap macros or turbo?
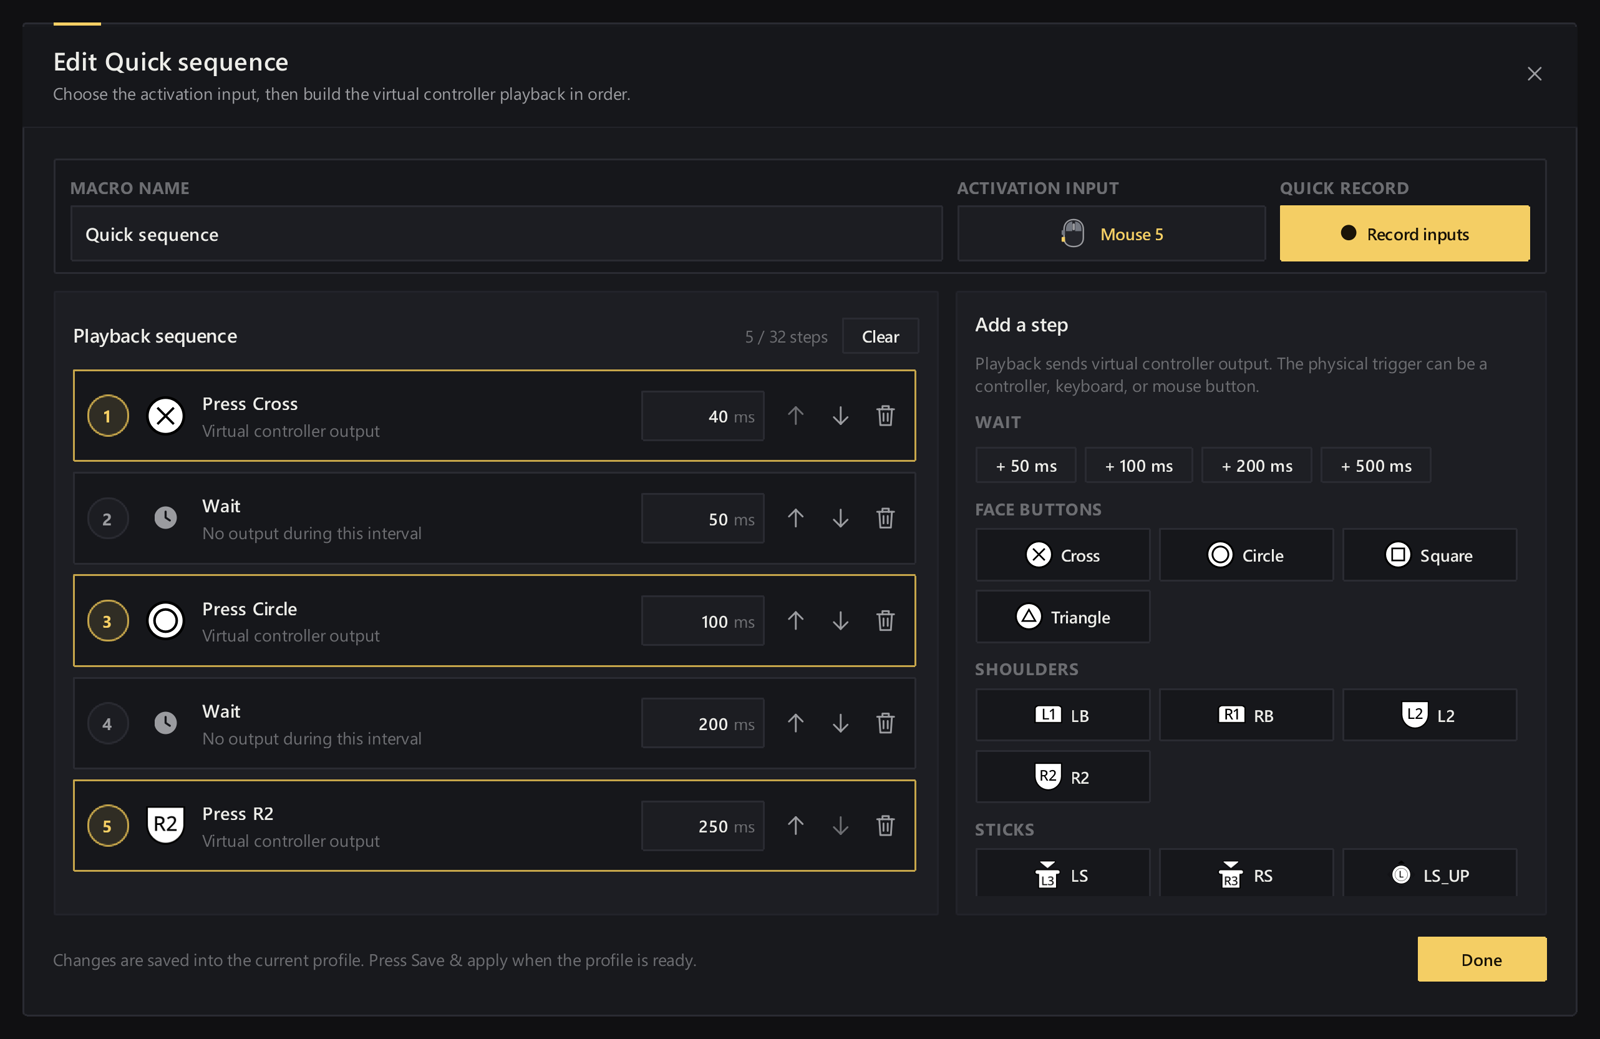
No. Tune changes analog response (deadzone, curve, trigger thresholds, gyro → stick). A macro is a fixed press sequence with waits. Turbo (product card) is repeat-while-held or toggle-on-tap on a binding. Different tools.
Do I need a paid plan to open Tune?
Remap is the paid remapper product family. Online purchases are not enabled yet on the site — compare plans on the Remap page and use Help for setup. Mate, Aim, Clipper, Audio, and Boost remain separate free apps.
Soft next step
Connect the pad over USB, set Virtual output, open Dashboard → Tune, change one stick or trigger value, Save & apply, and verify in Input test → Virtual.
- Product: Versus Remap
- Docs: Choose output and tune sticks, triggers and gyro
- First-session apply path: USB pad, apply a slot, add one shift layer