Versus Boost Windows Guide: Scan the PC, Review One Change, Keep the Restore
First-session Versus Boost on Windows: scan hardware without changing settings, review one Safe Boost control with its tradeoffs, then keep a path back to the original state.
Direct answer: Versus Boost is a free Windows app for knowing the PC you play on before you change it. Connect your Versus account, run Scan PC to read hardware and startup facts without applying anything, open Safe Boost to review one supported setting with its current state, proposed state, evidence, and warning, then confirm only if you accept the tradeoff. Supported changes keep original-state records so you can restore later. Scans and history stay on your PC.
Most “PC boosters” want you to click Apply All and hope. That is how you lose the setting that actually mattered and never know which change helped.
This is the first-session path: inspect → review one deliberate change → keep the way back. It is not a fake score card and not a promise that your FPS will jump. Results depend on your hardware, game, and workload—and Boost is built so you can measure that on your machine if you want to go further.
What Boost is for (and what this guide skips)
Boost’s job on day one:
- Look around — scan hardware, displays, power, storage, drivers, and startup entries.
- Choose deliberately — review supported settings one at a time, with tradeoffs visible.
- Keep the evidence — original-state records, change history, and optional PresentMon comparisons from *your* captures.
What this post does not do:
- Invent temperature, XMP/EXPO, firmware, ping, or “game performance” from a hardware scan (Boost does not infer those).
- Pretend a scan uploads your PC to the cloud (scans and history stay local; you review and redact diagnostics before any export you choose).
- Treat Repairs as casual toggles (those are Microsoft repair tools with no Boost undo—covered lightly at the end).
Windows. Free app. One Versus account. You do not need a paid Remap or VPN plan.
Step 1: Connect your account and finish first run
Open Versus Boost on Windows. Protected workspace actions need a verified Versus account.
- Read Primeiros passos so scanning, measurement, and recovery are clear before you touch a control.
- Choose Show me around for the guided tour, or Explore my PC to open the workspace.
- If you are not connected, choose Connect my Versus account.
- Use Refresh account if the connection looks stale.
Browser previews cannot read Windows hardware. Use the desktop app on the PC you actually play on.
Need the long form? Use the Boost setup guide.
Step 2: Scan the PC before you change anything
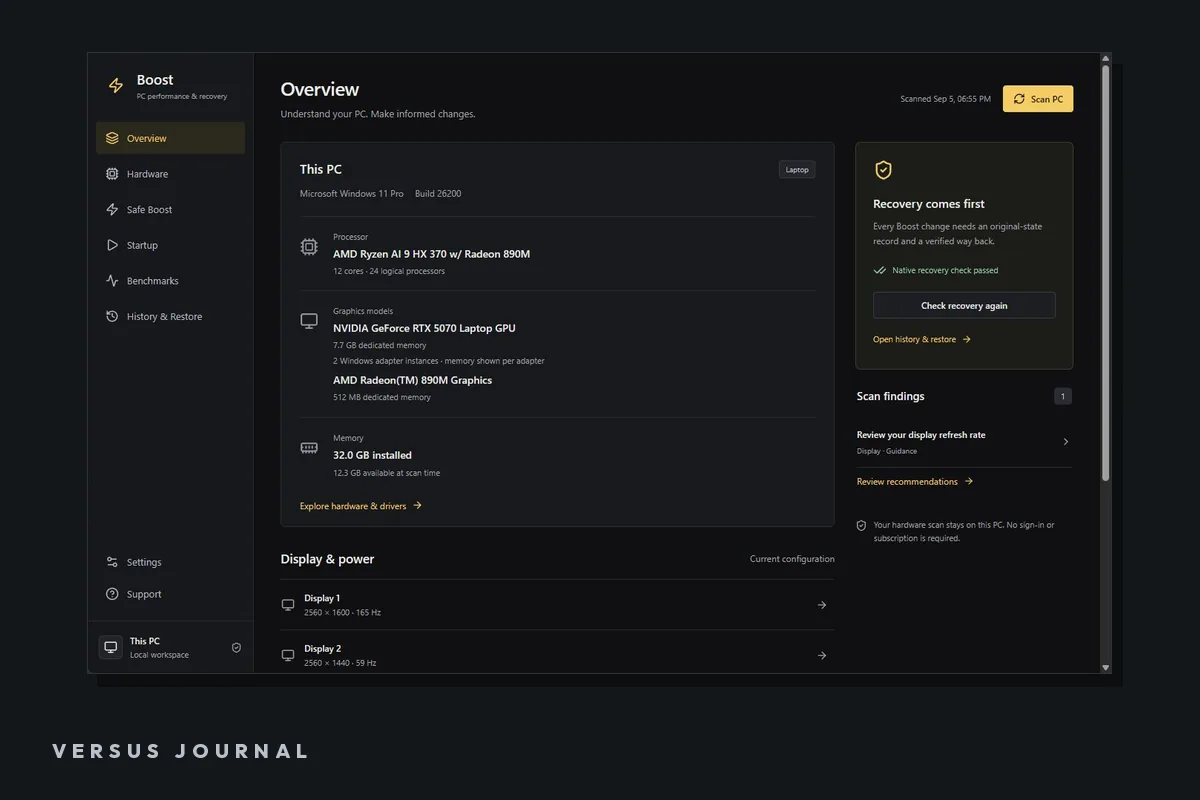
From Visão geral, select Scan PC.
A scan reads. It does not rewrite Windows.
What you get:
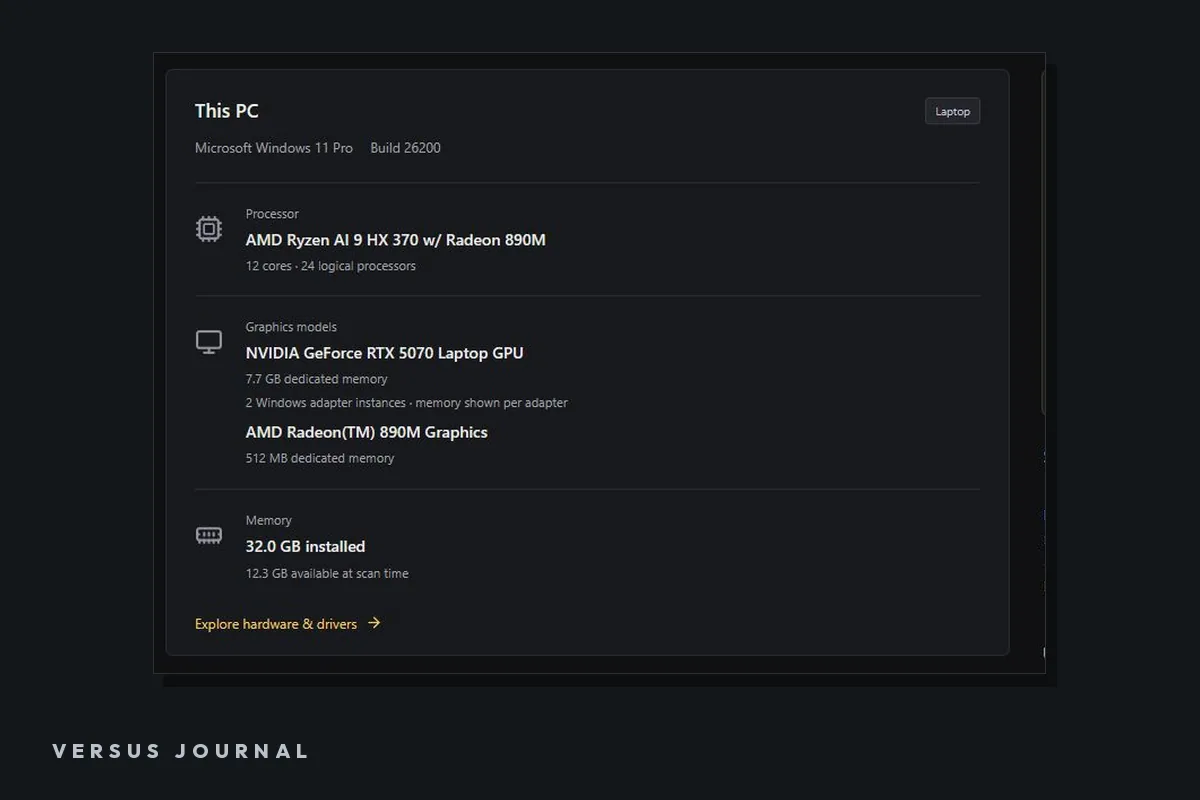
- Overview cards for processor, memory, graphics models, storage, power, and live activity
- Hardware search and filters when you want a narrower list
- Live CPU, GPU, and memory readings you can Pause or Resume
Unavailable readings stay unavailable. That honesty matters more than a fake zero. Boost shows Windows-reported facts with sources—it does not invent missing telemetry.
Startup entries and Windows-managed recommendations appear so you can see what is already there. Opening that list still does not apply a mystery bundle.
Step 3: Review one Safe Boost control (then confirm)
Abrir Safe Boost and select Find improvements when you want a short list from a fresh local check.
The check separates:
- Recommendations
- Already configured controls
- Optional controls
- Unavailable readings
For each item, read:
- Current state
- Proposed state
- Evidence
- Warning / tradeoff
Then:
- Use Review in Windows when Boost only points at a setting it does not manage.
- For a Boost-managed item, open its review action and read the tradeoff.
- Select Confirm apply only when you accept that change.
Nothing changes during the check. A control that is *available to review* is not automatically a recommendation. Supported preference changes sit on a compiled allowlist. Broader Windows advice links you into the real Windows settings page instead of silently rewriting it for you.
Narrow the list with category tabs when the wall of options is loud: Performance, Graphics, Network, Services & tasks, Windows cleanup, Privacidade, Repairs, or All controls.
First session tip: apply one reviewed change you understand. Play a familiar scene. Decide if it helped. Stacking five unknowns teaches you nothing.
Step 4: Keep the original state—and restore when you need it
Abrir History & Restore and inspect Your changes & saved originals.
Boost keeps separate recovery records for:
- User preferences
- Machine controls
- Per-game settings
To restore a supported change:
- Find the control and read its current state and warning.
- Select Review restore.
- Confirm the saved original still matches what you expect.
- Select Confirm restore and wait for verified recovery.
If another app changed the same setting, Boost stops instead of forcing the old value over a conflict. Restore returns the saved original, not generic Windows defaults. Stacked power changes restore newest first.
Keep the Boost recovery folder intact. Its records and keys are what restoration needs. Boost also ships an independent recovery path that can read retained records without the full desktop UI—and an emergency restore flow that works without signing in when you need that route.
Optional next moves (still honest)
Per-game graphics preferences
When a setting should hit one title, use Per-game controls. Paste the full path to the game’s .exe (not a launcher shortcut). Supported controls today:
- Prefer high-performance GPU
- Disable fullscreen optimizations for this game
Boost reads the preference; it does not launch or modify the executable. Restart the game when the warning asks. Use Restore game preference to return the saved original.
Measure with your own PresentMon captures
Boost imports PresentMon CSV runs. It does not record gameplay for you.
Honest loop:
- Capture a warmed-up, repeatable scene as Before changes (baseline) and fill every condition field (game, build, scene, resolution, graphics, driver, power source, capture setup).
- Apply one reviewed change. Restart the game if required. Capture the same scene again.
- Import as After changes and compare runs.
- For normal variation, compare at least three before and three after captures.
Boost reports average FPS, 1% and 0.1% lows, frame-time percentiles, and stutters. It refuses mismatched conditions or durations. One before/after pair is an observed difference—not proof that Boost caused it.
Repairs (only when you are chasing a real Windows problem)
Repairs run Microsoft diagnostic or repair commands. They are not reversible preference toggles. Read the warning, confirm, approve administrator elevation, keep Boost open for the job output, and restart Windows yourself if Windows says so. Boost does not auto-reboot. DISM/SFC-style work has Não Boost undo.
FAQ
Is Versus Boost free?
Yes. You do not need a paid Remap or VPN plan to use this app.
Does a scan upload my PC information?
Hardware scans and history are stored locally. Diagnostics are reviewed and redacted before you choose to export them.
How do I know a change actually helped?
Import your own PresentMon captures and compare matching runs on your machine. What you gain depends on your hardware, game, and workload. Boost does not invent a published score for your PC.
Can I undo a change?
Supported adjustments keep original-state records. Restore can detect conflicts if something else changed the same setting. Keep the Boost recovery folder intact. Windows repair actions do not get Boost rollback.
What if a reading is missing?
Unavailable stays unavailable. Re-run Scan PC and read the provider message. Refresh a control’s state before trying another apply or restore.
Soft CTA
Know the machine. Change one thing you can explain. Keep the restore path.
Start with Versus Boost on Windows, then follow the Boost setup guide when you want the deeper docs trail.
Related first-session reads: Versus Mate · Versus Clipper.