How to make vertical gaming clips on PC
9:16 clips need different capture and framing to a full-screen recording. The workflow, how to keep game and voice audio separate, and where clips go wrong.
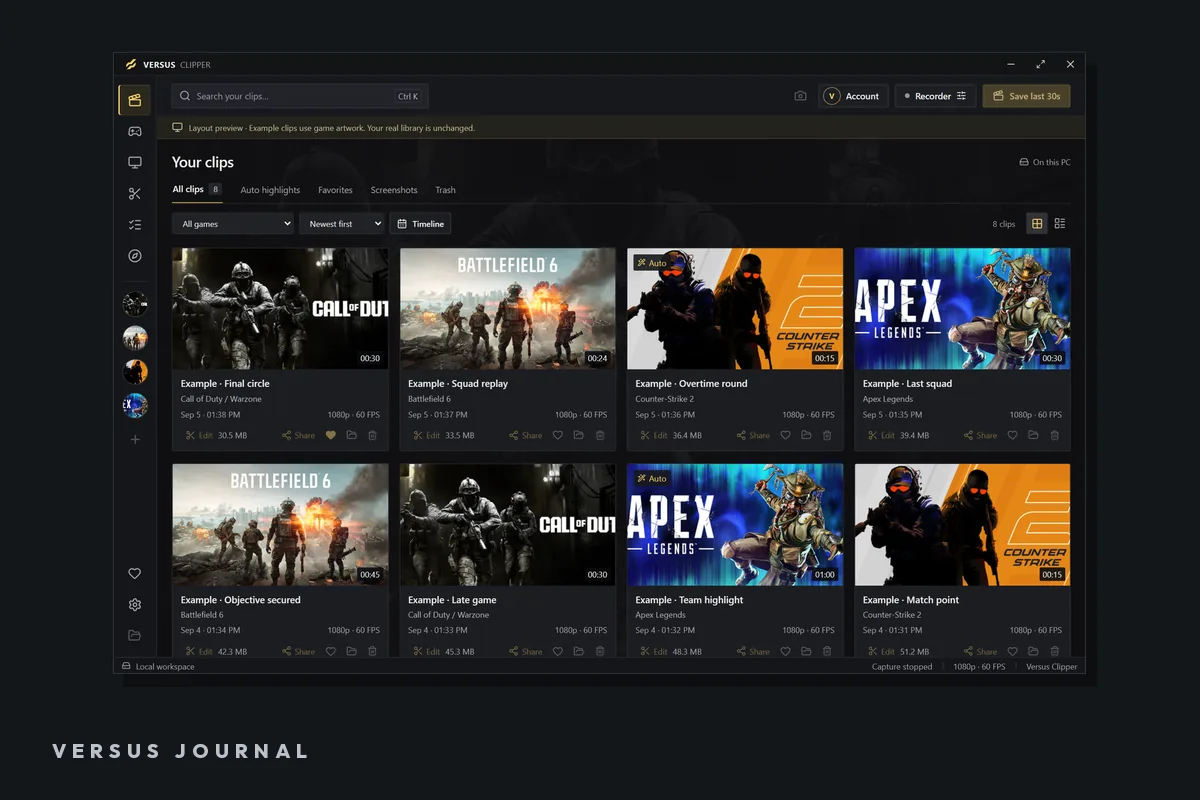
Vertical gameplay looks wrong when it is made the lazy way: record full-screen, then crop the middle and hope. The action is usually not in the middle, the HUD gets cut in half, and the audio has already been mixed into something you cannot fix.
Decide the format before you record
This is the mistake that costs the most time. If you know a clip is going vertical, you can frame around it while you play. If you record first and choose later, you are cropping a landscape composition into a portrait one and losing whatever sat at the edges.
Most vertical video is 9:16 (1080x1920). Square 1:1 still gets used for some feeds, and landscape 16:9 remains right for a full-screen watch or a group chat that will view it inline. Capture in landscape and export in the target ratio is the normal workflow - just be deliberate about what is in the middle of frame.
Keep the audio tracks separate
This is the single biggest quality difference between an amateur clip and a good one. Record game audio and your microphone to separate tracks. Then you can cut your reaction to the action, duck the game sound under a callout, or drop a section where someone's music was playing. If they are baked into one track, none of that is possible after the fact.
The capture settings that matter
- Use a hardware encoder (NVENC, AMF or Quick Sync) where available. It takes the load off the
CPU, which is the component most likely to be limiting your frames during a recording session.
- Separate game and microphone tracks, as above.
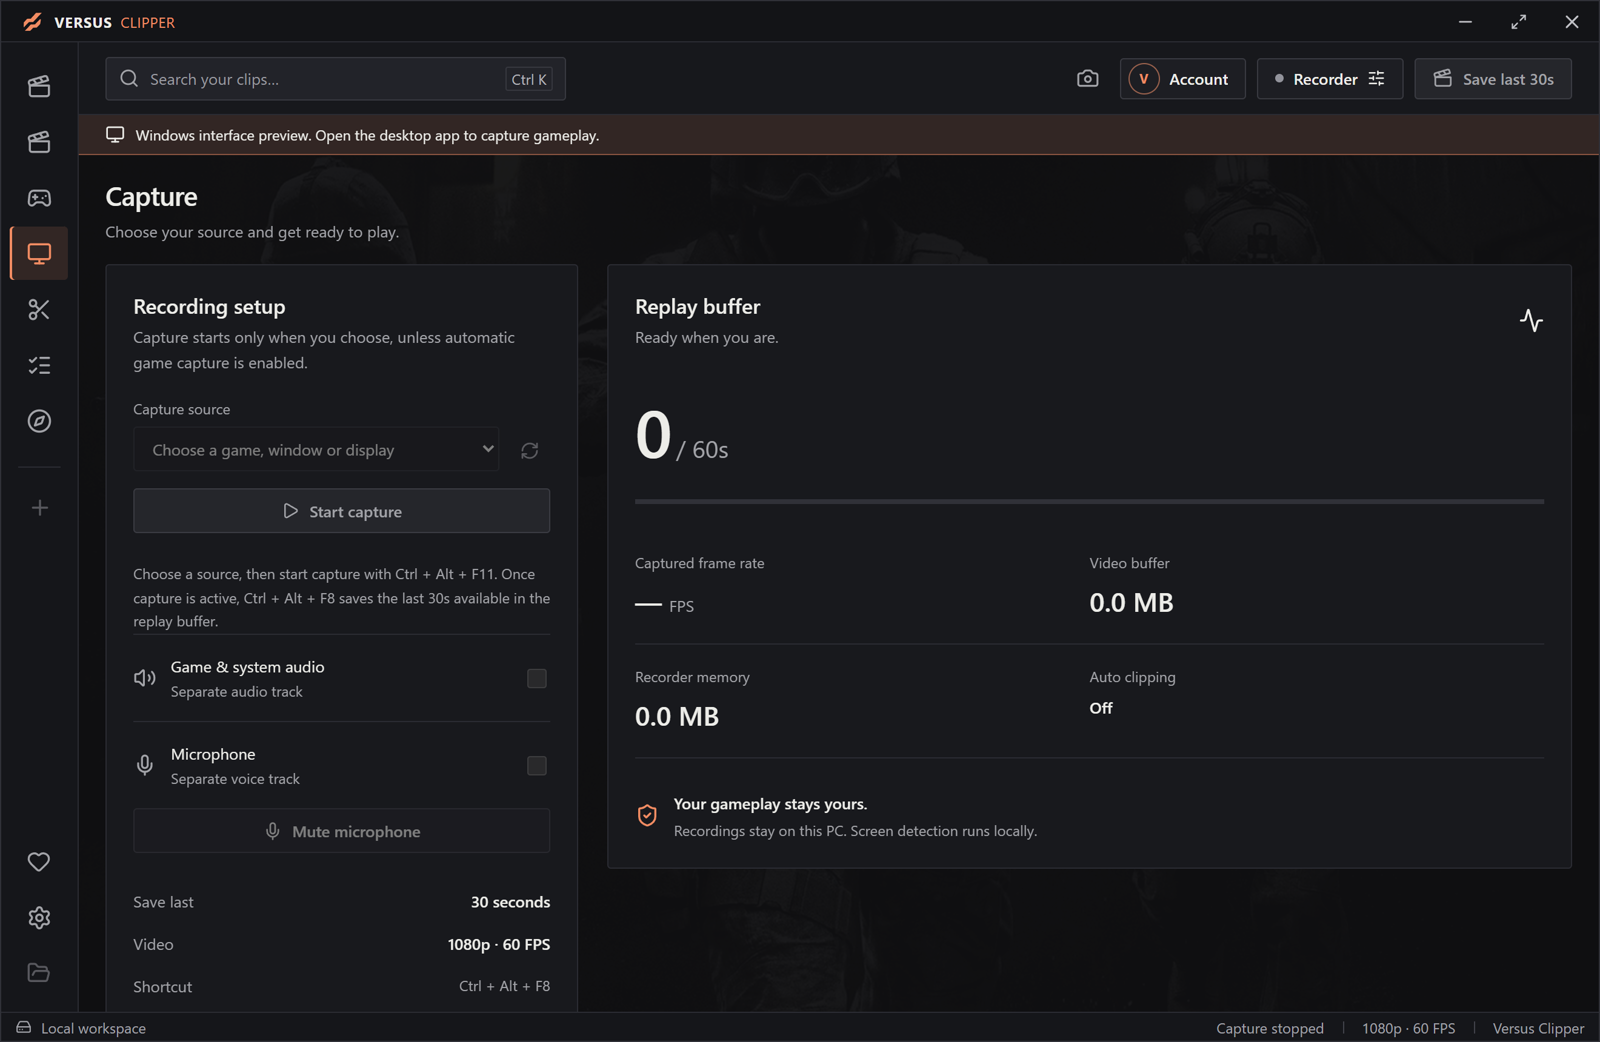
- A replay buffer, not a full recording. Nobody wants to store an hour of footage to find one
fight. A replay shortcut that keeps the last 30 seconds means you decide after the moment happens, which is when you know it was worth keeping.
- Watch your disk. High-bitrate capture fills drives quickly, and a nearly full drive is both
slow and a good way to lose the clip you wanted.
The edit, in order
- Cut to the moment. Trim the run-up. Nobody needs the four seconds of walking.
- Choose the framing. Preview the crop before exporting. Check that the kill feed, minimap or
objective marker is still visible - some of that information matters more than the scenery.
- Balance the audio. Game sound down slightly, your voice clear. This is where separate tracks
earn their keep.
- Export the ratio you decided at the start, and keep the original recording. Editing should
never be destructive.
Where vertical clips usually go wrong
- Cutting off the HUD. Check the crop against the actual frame, not the preview grid.
- Vertical video of a horizontal moment. Some plays only read in a wide shot. Watch it back
before you commit.
- Caption text outside the safe area. Keep text clear of the edges where app interfaces overlay.
- Loudness. A clip that is 10 dB louder than everything else in a feed gets skipped.
- Length. Fifteen to thirty seconds is where most short-form gameplay lives. If it needs a
minute, it probably needs a reason.
Sources and further reading
- Versus Clipper - replay capture, timeline editing and ratio export
- Versus Help: capture setup
- Do game boosters increase FPS? - why a hardware
encoder matters during recording