Versus Clipper Windows Setup: Save the Replay, Edit the Cut, Share the Link
First-session Versus Clipper on Windows: save a gameplay replay, trim with separate game and mic tracks, export with no watermark—or share a viewing link.
Direct answer: Versus Clipper is free gameplay recording and clip editing on Windows. Start capture on a game, window, or display. Save the recent action with your replay shortcut (default Ctrl+Alt+F8; save length is adjustable in the app). Trim and balance separate game audio and microphone tracks in the editor, switch canvas if you need a different frame, then export without a watermark—or upload a clip and share a viewing link friends can open without an account. Recording a clip does not publish it. Recordings stay on your PC until you choose to upload.
You hit the play. Then you dig through a full recording, fight a watermark, or bounce between three apps just to send a clean cut to the group chat.
This is the first-session path in one Windows app: save the replay → make the cut → export or share a watch link. It is not a 9:16 framing deep-dive and not an FPS-overhead lab. For those angles, use the Capture guides linked at the end.
What you get in a first Clipper session
Clipper keeps the workflow short:
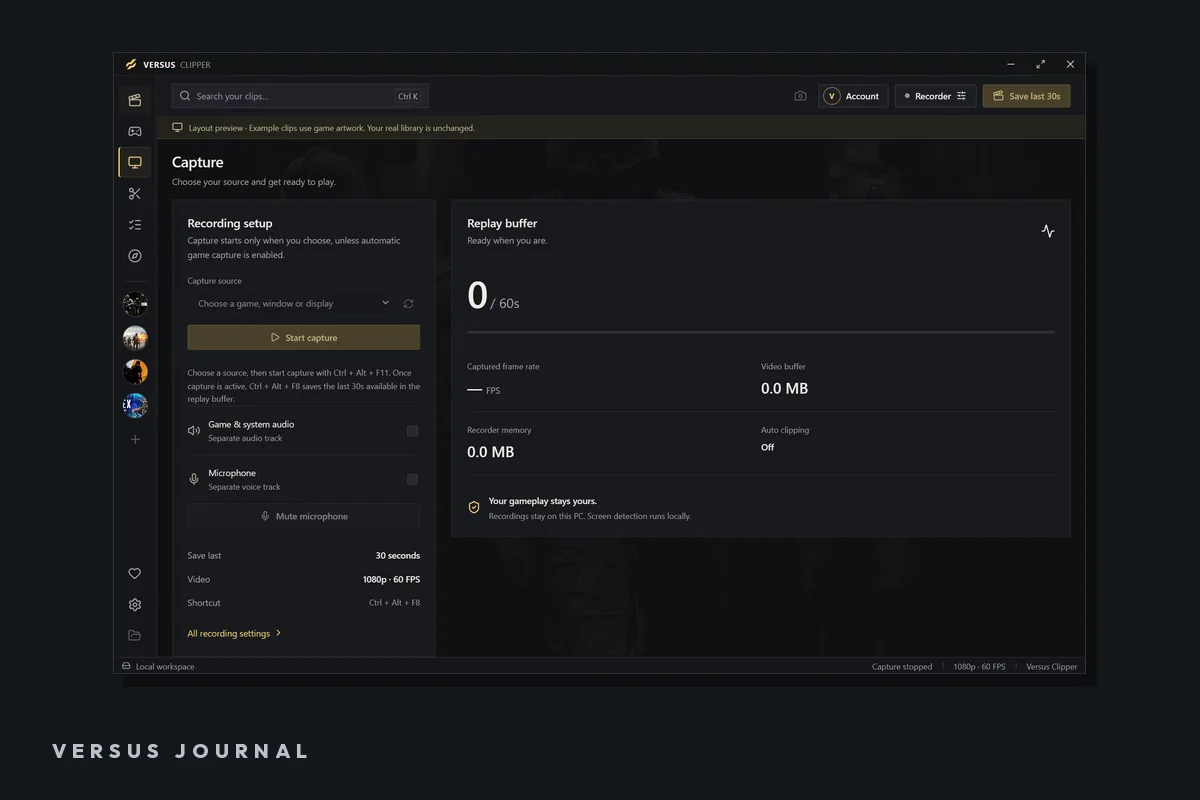
- Capture — choose a game, window, or display and start capture.
- Replay save — keep the recent action with one shortcut.
- Modifica — trim, arrange, get the audio right, preview on the timeline.
- Out — export a finished clip with no watermark, or share a viewing link.
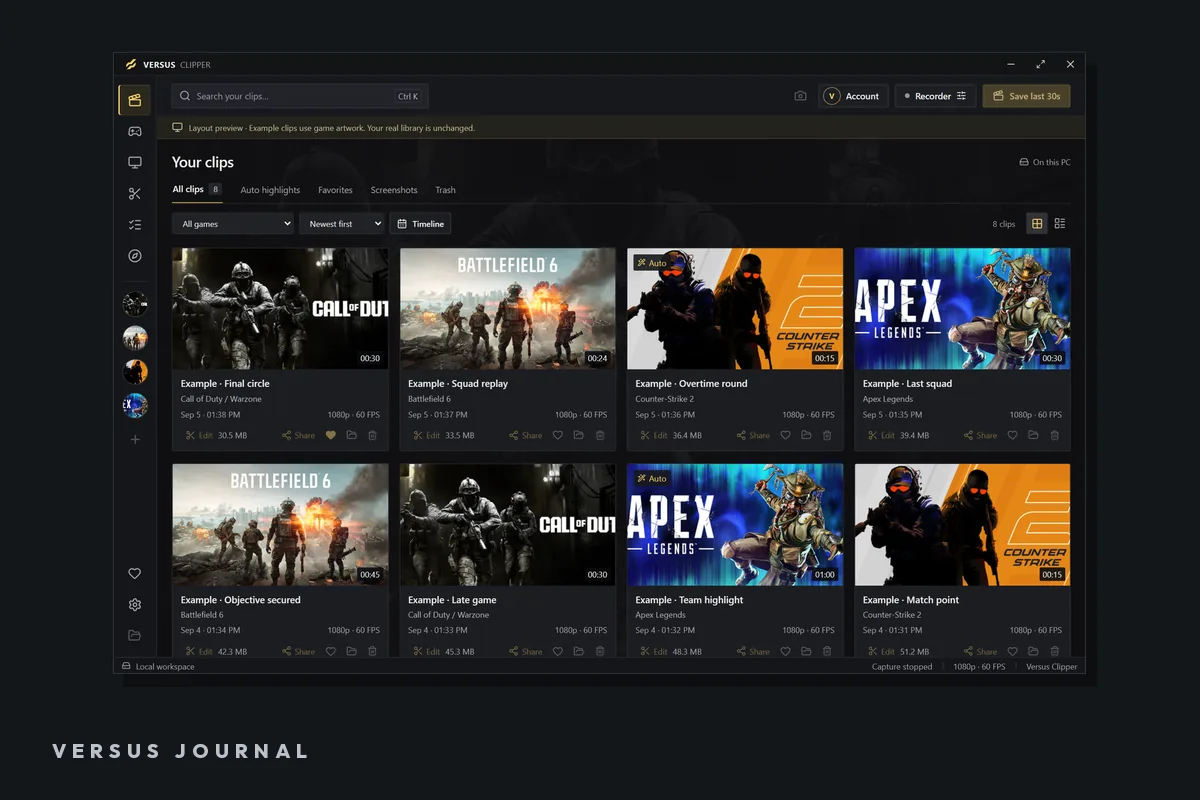
Recording and replay settings live in one place. Recordings land on your PC, organized by game. You decide what leaves the machine.
Windows 10/11. Free capture and manual editing. No export watermark.
Step 1: Start capture on the source that matters
Open Versus Clipper on Windows and sign in with your Versus account. Sign-in connects your shared library and AI coins. Friends opening a shared clip later do not need an account.
Then:
- Choose a game, window, or display.
- Start capture.
- Play. Clipper is ready for the moment you want to keep.
Separate game audio and microphone tracks are part of the capture story. Get those right before you care about the cut—your future edit will thank you.
Need install help? Use the Clipper setup guide.
Step 2: Save the gameplay replay (not the whole night)
You do not need to stop the match to “start recording” the highlight. Save the recent action with your replay shortcut.
- Default shortcut: Ctrl+Alt+F8
- Save length: adjustable in the app
One shortcut. Last moments kept. Recording and replay settings stay in one place so you are not hunting menus mid-session.
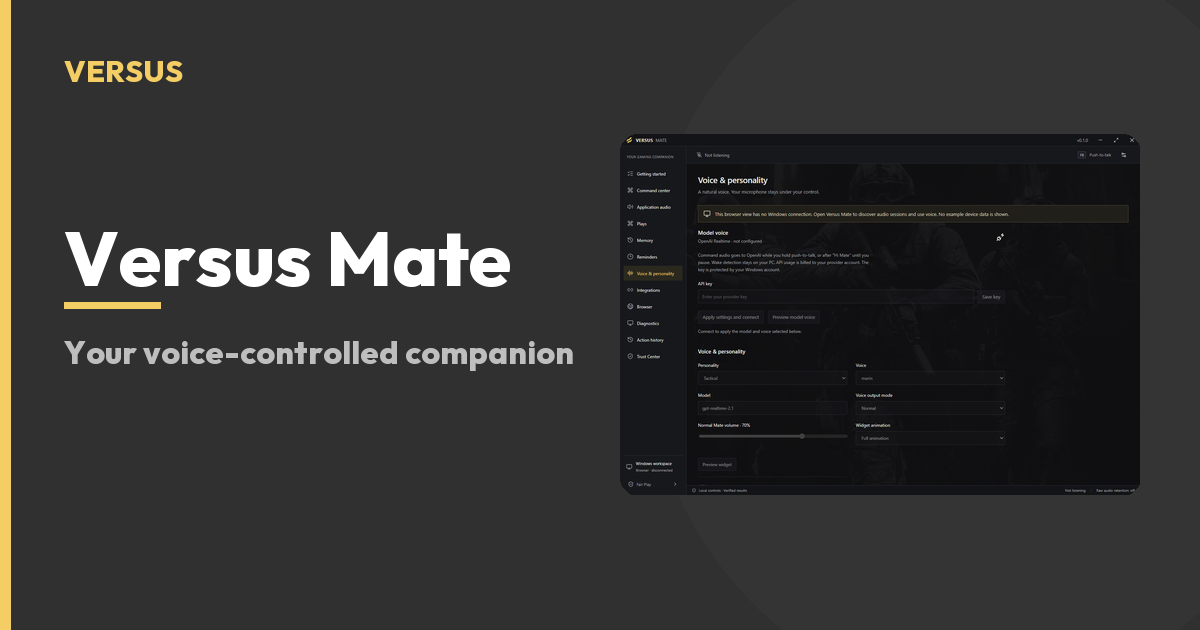
Optional, light path: if Versus Mate is set up with Clipper access enabled and Clipper is already running, Mate can request a save from Clipper’s existing replay buffer. Same buffer. You still own the clip on your PC until you upload.
Step 3: Cut to the part that matters
Open the saved clip in the editor. This is where a long buffer becomes a sendable moment.
Trim and arrange
Trim the wait. Split and reorder cuts on the timeline. Preview at full size. Move through the timeline until the play reads clean.
Get game and mic audio right
Balance the game and your voice. Separate game audio and microphone tracks mean you can shape the mix without guessing which layer is drowning the other.
Pick the canvas before you shape the share
In the editor, switch canvas when the destination needs it—for example vertical to landscape—before you shape the moment. Clipper keeps the original recording while you prepare the export. Editing and exporting do not replace your originals.
Manual editing is free. Optional AI tools use AI coins and show the cost before you confirm. This post does not invent what those optional tools do—only that the price is visible before you commit, and you do not need a paid Remap plan.
Step 4: Export without a watermark—or share a viewing link
Export a file
Finish the edit, then export. Formats called out on the product page:
| Destination feel | Format |
|---|---|
| Full-screen watch / group chat | 16:9 |
| Vertical destinations | 9:16 |
| Square destinations | 1:1 |
No export watermark. Keep the file on your PC or move it wherever you already share clips.
Share a watch link
Want the squad to open it in a browser?
- Upload the clip you want to share.
- Copy its viewing link.
- Send the link—not a login.
Friends can watch without creating an account. Your Versus shared library keeps uploaded clips and their links together. Share a clip, not a login.
Privacy default
Recording a clip does not publish it. Recordings stay on your PC until you choose to upload a clip for sharing. That is the rule: local first, share when you mean it.
Free essentials vs optional AI coins
Straight from the product FAQ:
- Free: capture, manual editing, watermark-free exports.
- Optional: AI tools that use AI coins and show the cost before you confirm.
- Not required: a paid Remap plan.
Sign in to the Windows app with your Versus account to connect the shared library and AI coins. Friends opening a shared clip do not need to sign in.
First-session checklist
Use this once, then it becomes muscle memory:
- Install / open Clipper on Windows 10/11 — setup guide.
- Sign in if you want shared library + AI coins connected.
- Choose game, window, or display → start capture.
- Confirm game audio + mic tracks look right for how you clip.
- Hit the play → Ctrl+Alt+F8 (or your remapped save) → find it in your library by game.
- Trim, arrange, balance audio, set canvas → export (16:9 / 9:16 / 1:1) with no watermark or upload and copy a viewing link.
- Leave everything else on your PC until you choose otherwise.
FAQ
Is Versus Clipper free?
Capture, manual editing, and watermark-free exports are free. Optional AI tools use AI coins and show the cost before you confirm. You do not need a paid Remap plan.
Do I need a Versus account?
Sign in to the Windows app with your Versus account. It connects your shared library and AI coins. Friends opening a shared clip do not need to sign in.
Are my recordings uploaded automatically?
No. Recordings stay on your PC until you choose to upload a clip for sharing.
Can I export without a watermark?
Yes. Export finished clips without a watermark. Choose 16:9, 9:16, or 1:1 for where the clip will be watched.
How do I share a clip with friends?
Upload the clip you want to share and copy its viewing link. Friends can watch in the browser without creating an account. Your shared library keeps uploaded clips and their links together.
Soft CTA
Your next highlight starts with a buffer you can trust and a cut you control.
Set up Versus Clipper for Windows, save the replay, make the cut, then export clean or send a watch link.
- Product: Versus Clipper
- First capture help: Clipper setup guide
Suggested internal links
| Link | Why | Stato |
|---|---|---|
| https://getversus.gg/clipper.html | Product hub | Live |
| https://getversus.gg/docs.html#clipper-guide | Setup / install | Live |
| https://getversus.gg/journal/how-to-make-vertical-gaming-clips | Adjacent: 9:16 framing (not this workflow post) | Live |
| https://getversus.gg/journal/record-gameplay-without-losing-fps | Adjacent: performance cost of recording | Live |
| https://getversus.gg/journal/equalizer-apo-gaming-presets | Adjacent: hearing footsteps / game audio on Windows | Live |
| https://getversus.gg/mate.html | Optional: Mate → request save from Clipper buffer | Live |
| https://getversus.gg/account.html#/clips | Shared library entry | Live (flag if hash route changes) |
Do not cannibalize: this draft stays on first-session replay → edit → share. Point vertical and FPS readers to the Capture posts above instead of rewriting them.